
Recently, I've been researching lots of different wedding makeup as I really don't know what to go for. I decided to try and replicate one of the pictures that I found to see if its a look that I like :)

Here's a step by step guide of how I recreated the look!
1. Prep

Before I put any makeup on I wanted to make sure my skin was feeling good so I did my normal morning routine of applying my Hydraluron, Alpha H Eye Complex & Chanel Hydra Beauty Creme :)

After my moisturiser had soaked in a little bit I applied a few sprays of my Urban Decay 'Dew Me' makeup setting spray as I feel like my makeup always holds a bit better if I apply this before!

I then applied some of the Benefit Pore Professional on my t-zone & some Urban Decay Eyeshadow Primer Potion
2. The base

I then applied my Nars Sheer Glow foundation which I absolutely love! I decided to use this foundation because it doesn't have any SPF which is perfect for a day when there will be a million pictures taken!! After my foundation, I applied my Bobbi Brown Corrector & Concealer under the eyes as well as my Maybelline Fit Me Concealer for any spots or redness!


Before After
3. Set

After applying my face makeup, I set it with this Mac prep & prime pressed powder
4. Eyes & brows

I always do my eye makeup before I do my brows so I started off using a Soap & Glory eye pencil in a brown colour to line my eye & fill in between my eyelashes.


Before After
Next I started to apply the eyeshadow.
I first used 'sidecar' from the Urban Decay pallet on the inner corner of my eye.
I then added some 'half baked' onto the centre of my eyelid & finished it off by using some 'hustle' in the outer corner. Once they were all on roughly, I blended them together to create a pinky smokey eye :) Before I'd finished the colours off I added a white/ivory colour into my inner corner to brighten it up using my Mac eyeshadow palette pictured above!

Before I blended them in :)
I then started the mammoth task that are the eyebrows!
I have a love/hate relationship with my eyebrows. I love doing them & can't go out without having done them but at the same time it can be so frustrating when it doesn't go all too well!

I used a brown from this Smashbox Soft Box palette to fill in my eyebrows as well as a Mac 263 brush

5. Eyelashes

After finishing my eyebrows, I apply a Maybelline mascara as well as some 'Tweezerman' eyelash curlers
6. Bronze

The next step in my makeup recreation is to slightly bronze my face. I had to be really careful with this as it can go on quite heavy if you put too much on the brush & I wanted to go for the 'natural' look so I lightly brushed this over my face.
7. Lips
Finally, I just wanted a really light coloured lip as I always struggle to keep dark colours on my lips & I wouldn't want to worry about topping it up or checking on it throughout the day

I used this Mac lipstick in 'creme cup'
And here is the finished look…


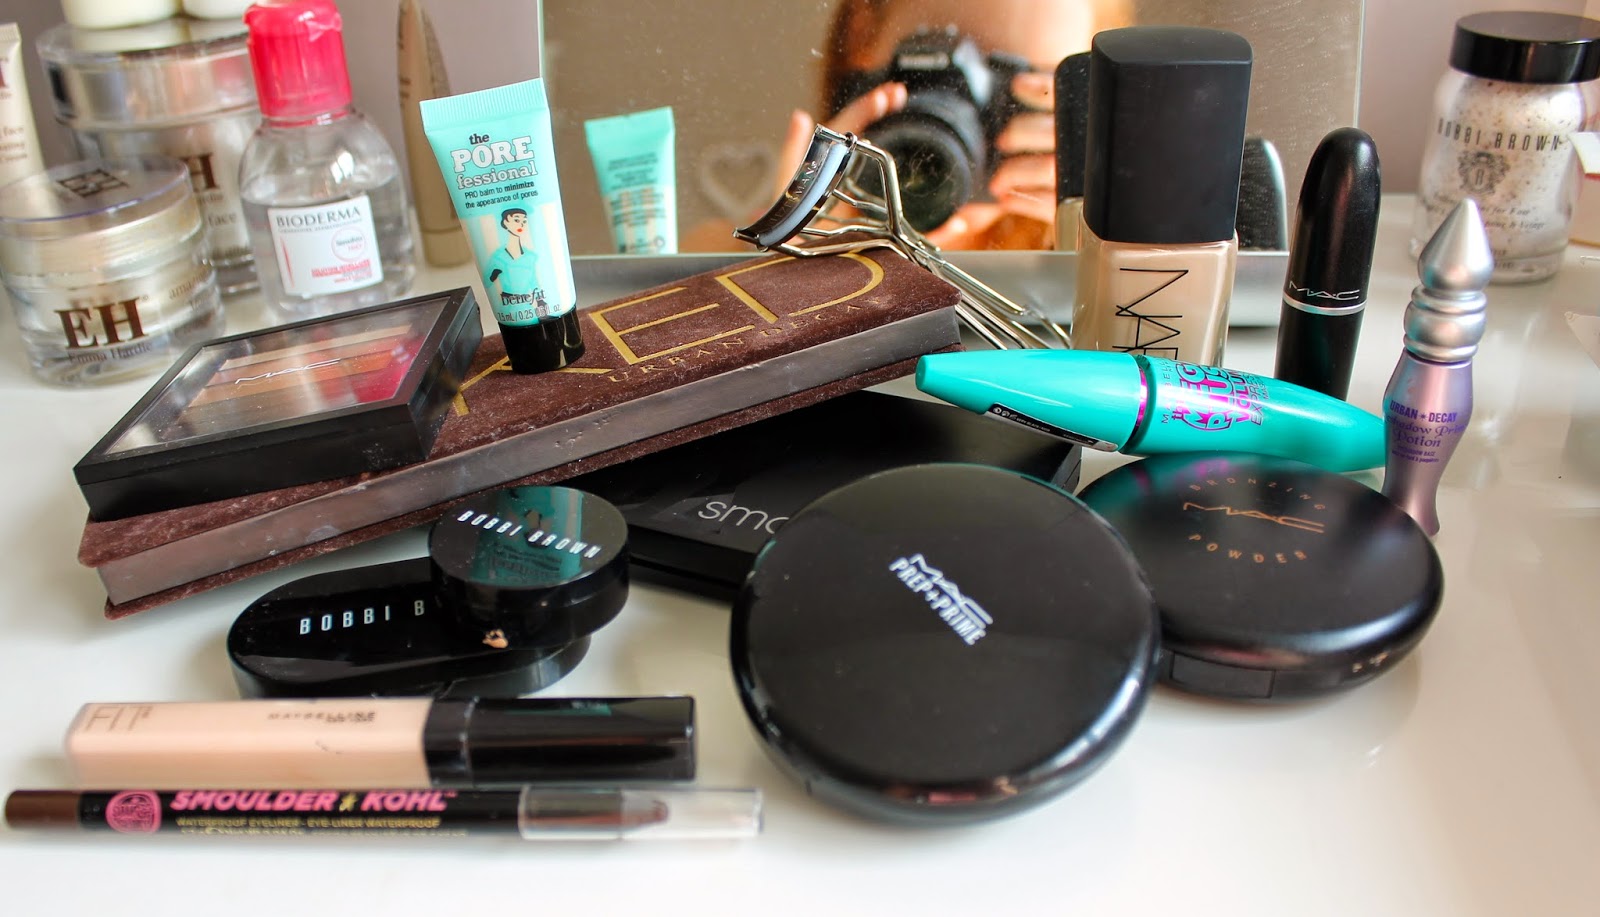
Here's all of the products that I used
As well as my brushes :)

I hope you enjoyed this make up look! I'm definitely no makeup artist but I thought it might be helpful for any brides-to-be to get an idea of a makeup look! It can be used for non-brides as well obviously :)
Let me know if you want me to do some different bridal makeup looks!!
Thank you for reading
Love,
Dainty Bride xx
(Pictures on this blog post are property of DaintyBride unless stated otherwise with an asterisk *. Any images marked with an asterisk * are sourced from the internet & are believed to be public domain & have no rights affiliated with DaintyBride)
(Pictures on this blog post are property of DaintyBride unless stated otherwise with an asterisk *. Any images marked with an asterisk * are sourced from the internet & are believed to be public domain & have no rights affiliated with DaintyBride)
No comments:
Post a Comment